Intro to Photography – Elements of Exposure
A Beginner’s Guide
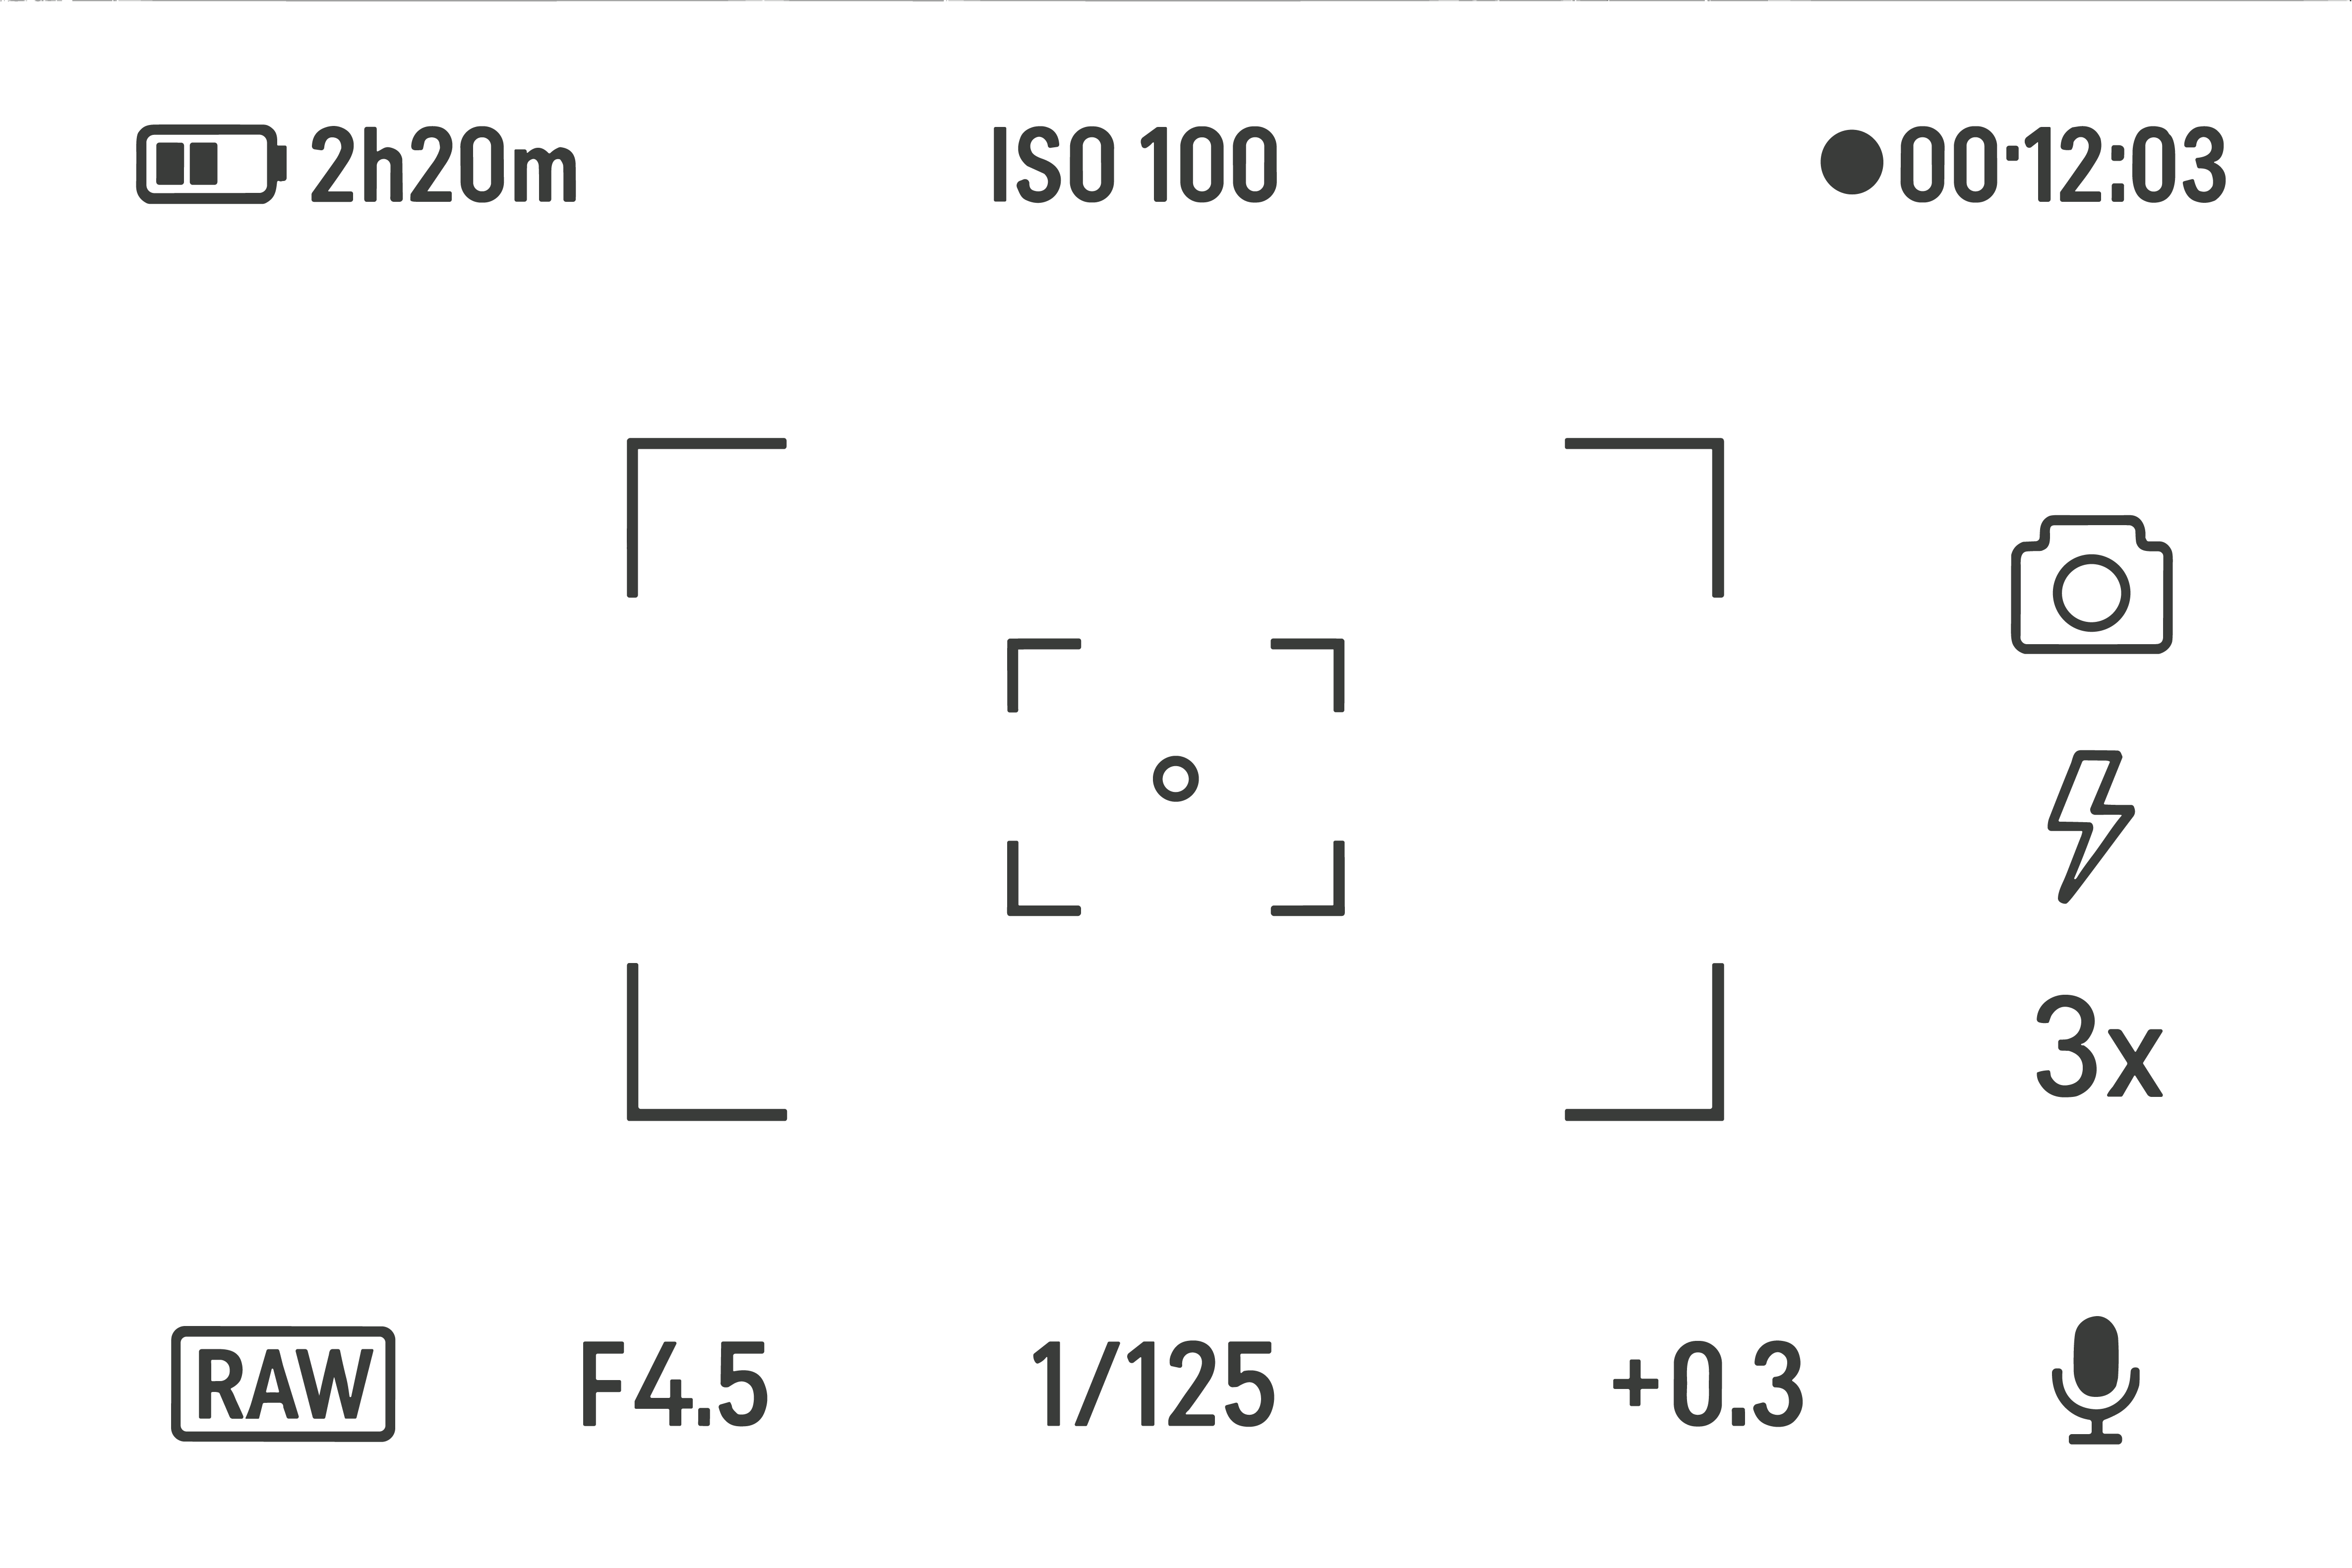
Exposure in photography is the key to capturing images that are neither too dark nor too bright, but perfectly balanced to reflect your creative vision. Understanding exposure allows photographers to control how light interacts with their subject, shaping the mood and clarity of their photos. At the heart of exposure are three essential elements—aperture, shutter speed, and ISO—which work together to determine how much light reaches the camera sensor. Mastering these settings not only helps achieve the correct brightness but also opens up endless possibilities for artistic expression. In this post, we’ll break down each of these components to help you take full control of your camera.
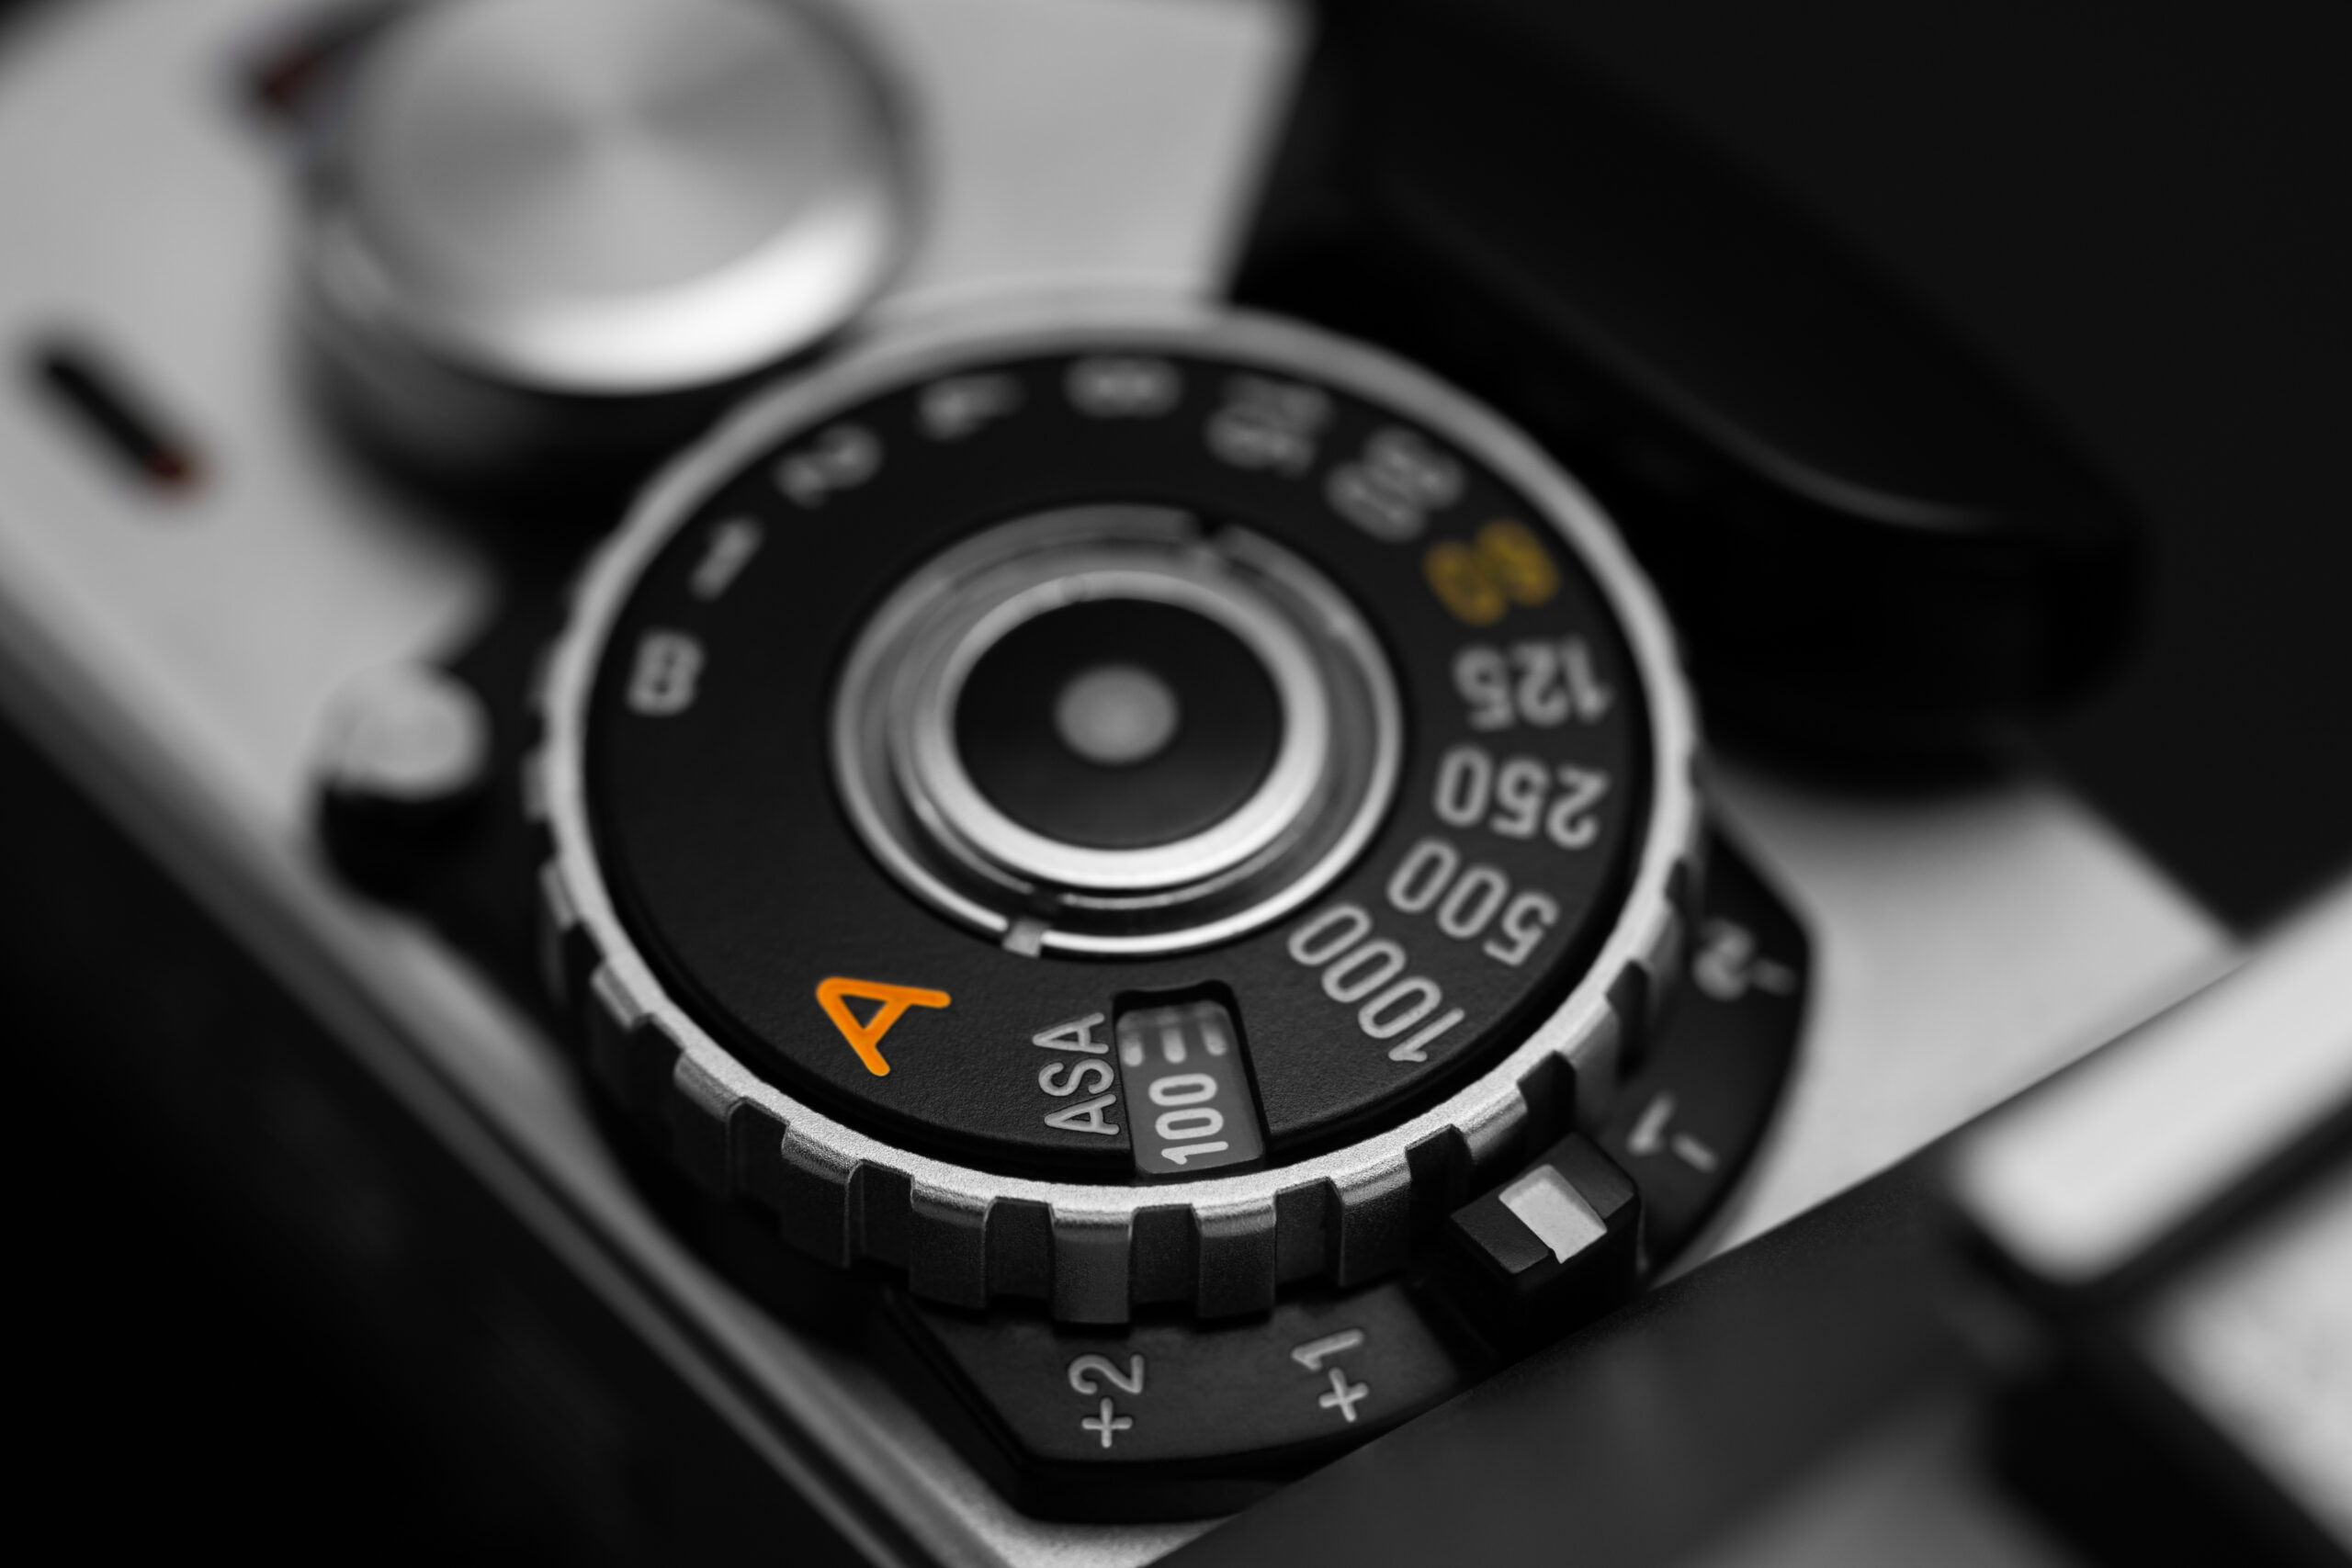
Shutter Speed – the length of time a camera shutter is open to expose light into the camera sensor. Shutter speeds are typically measured in fractions of a second, when they are under a second. Slow shutter speeds allow more light into the camera sensor and are used for low-light and night photography, while fast shutter speeds help to freeze motion. Examples of shutter speeds: 1/15 (1/15th of a second), 1/30, 1/60, 1/125.
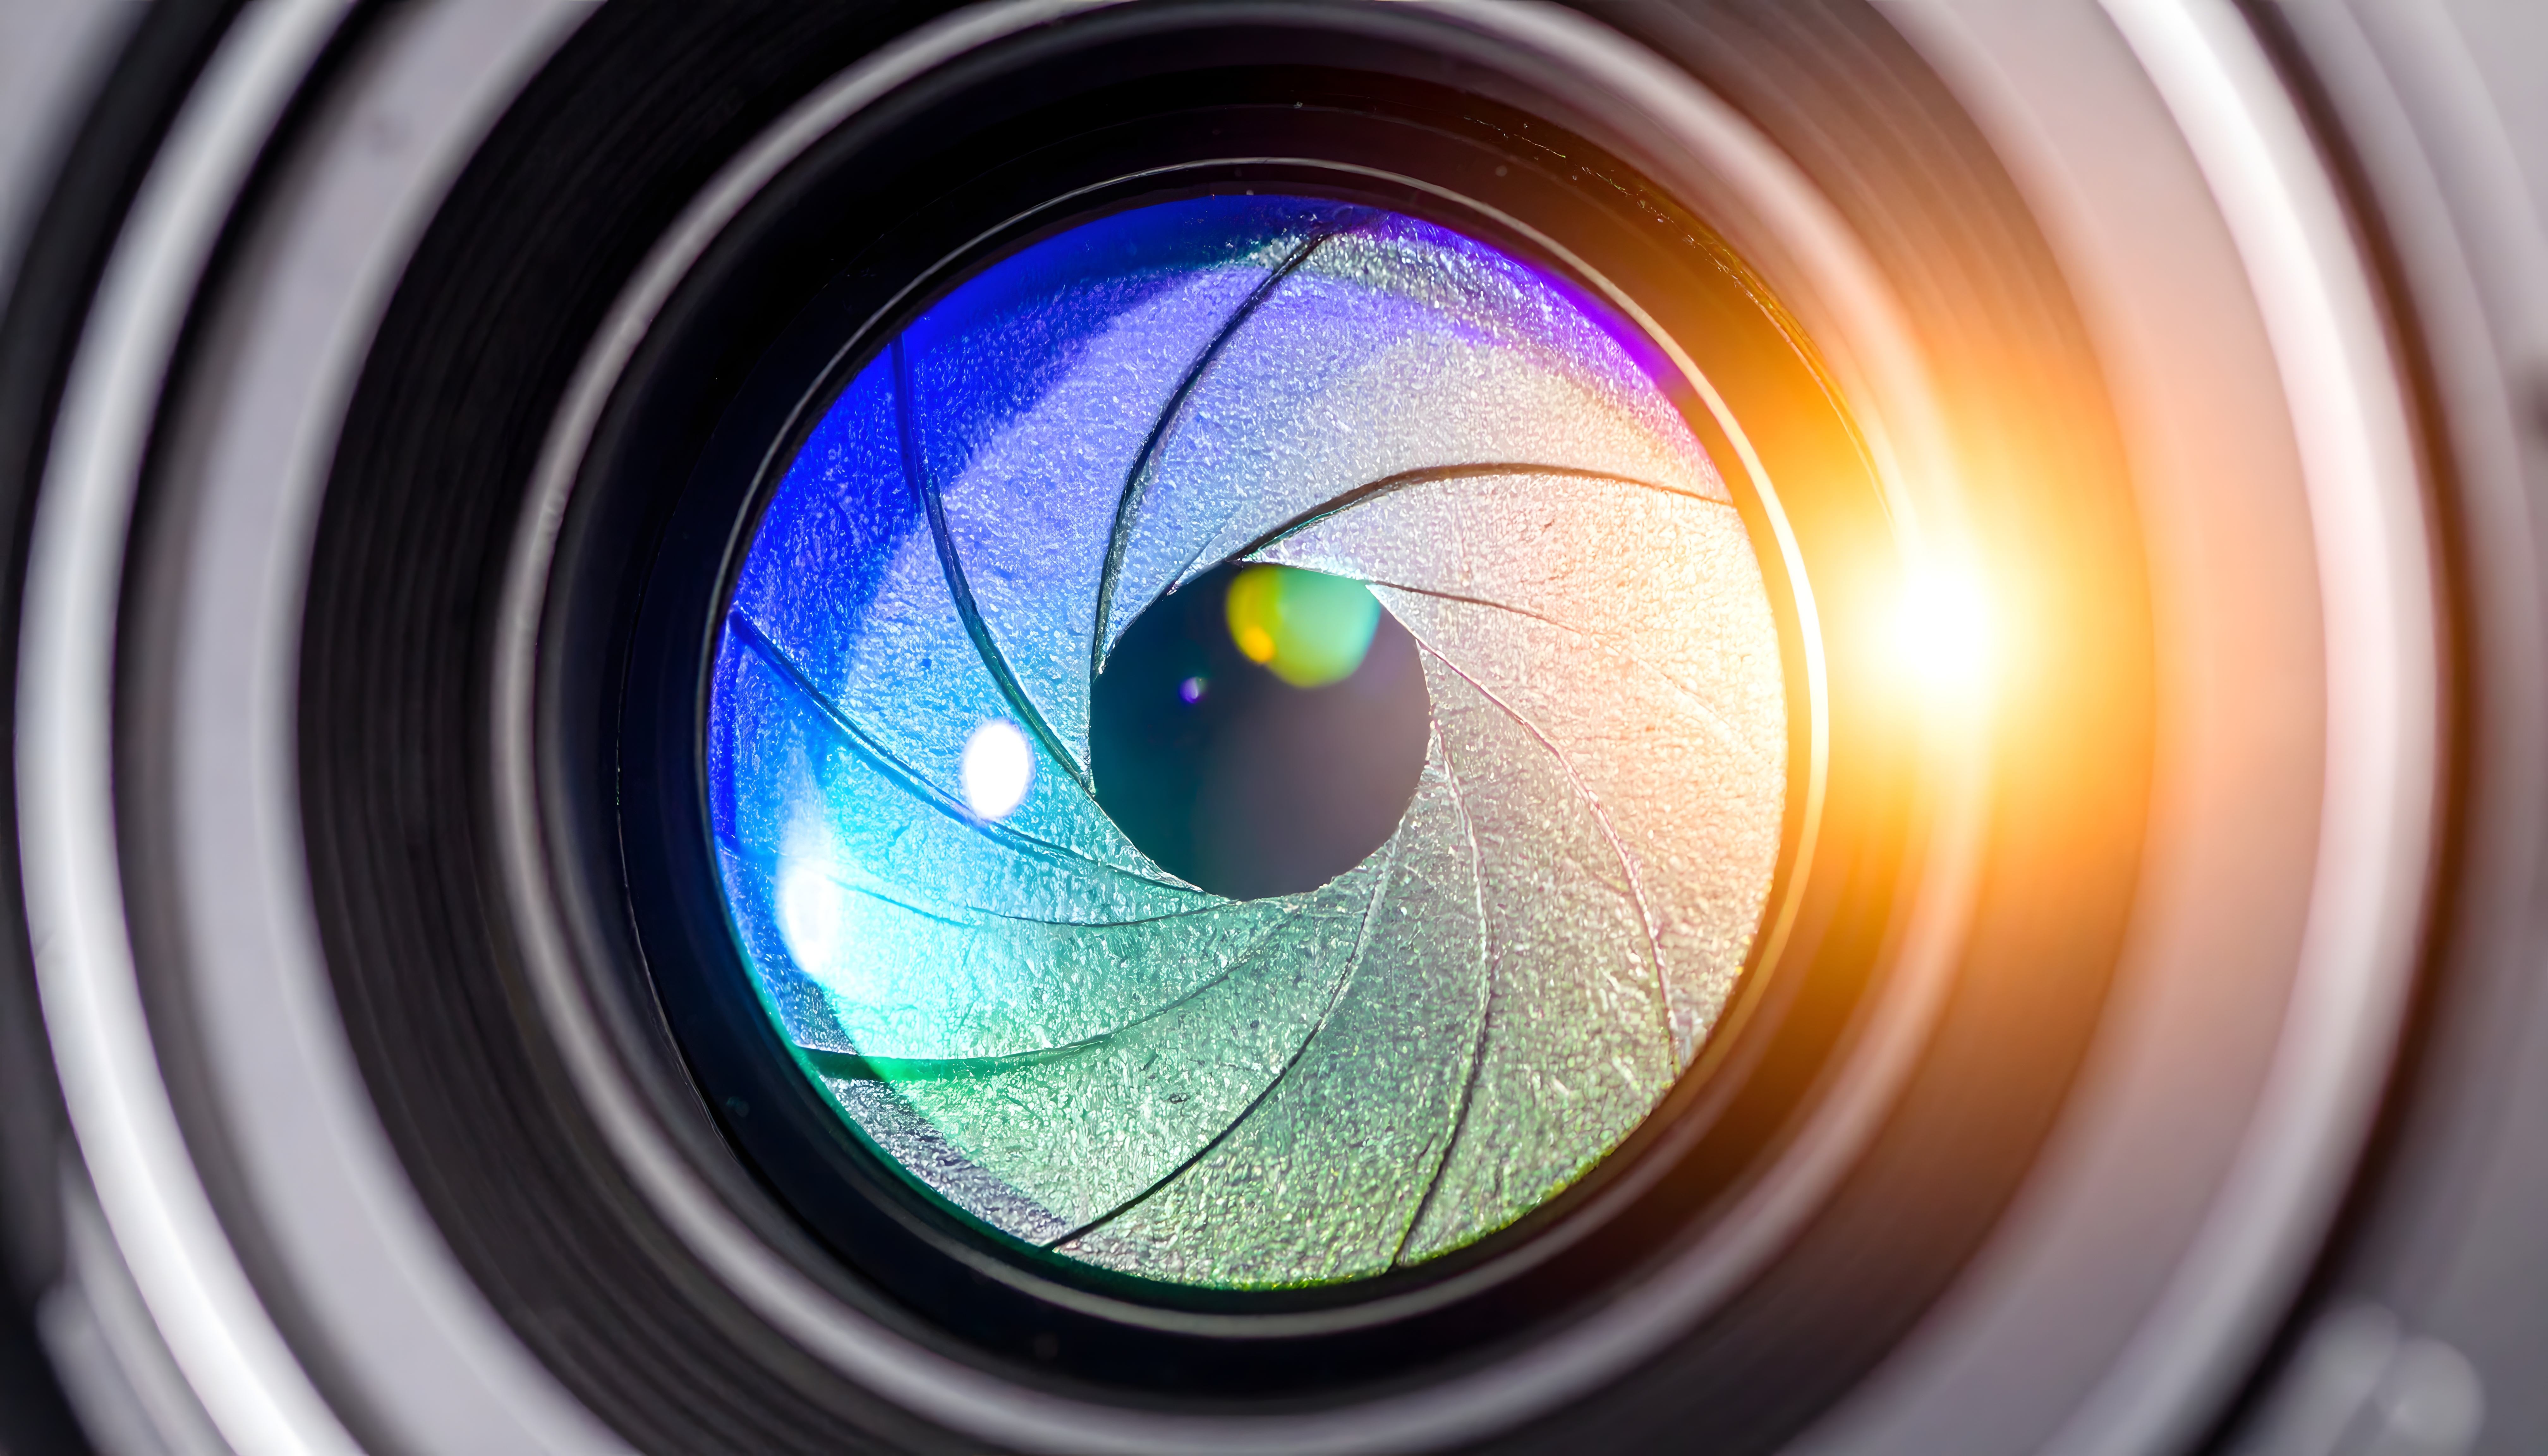
Aperture – a hole within a lens, through which light travels into the camera body. The larger the hole, the more light passes to the camera sensor. Aperture also controls the depth of field, which is the portion of a scene that appears to be sharp. If the aperture is very small, the depth of field is large, while if the aperture is large, the depth of field is small. In photography, aperture is typically expressed in “f” numbers (also known as “focal ratio”, since the f-number is the ratio of the diameter of the lens aperture to the length of the lens). Examples of f-numbers are: f/1.4, f/2.0, f/2.8, f/4.0, f/5.6, f/8.0.
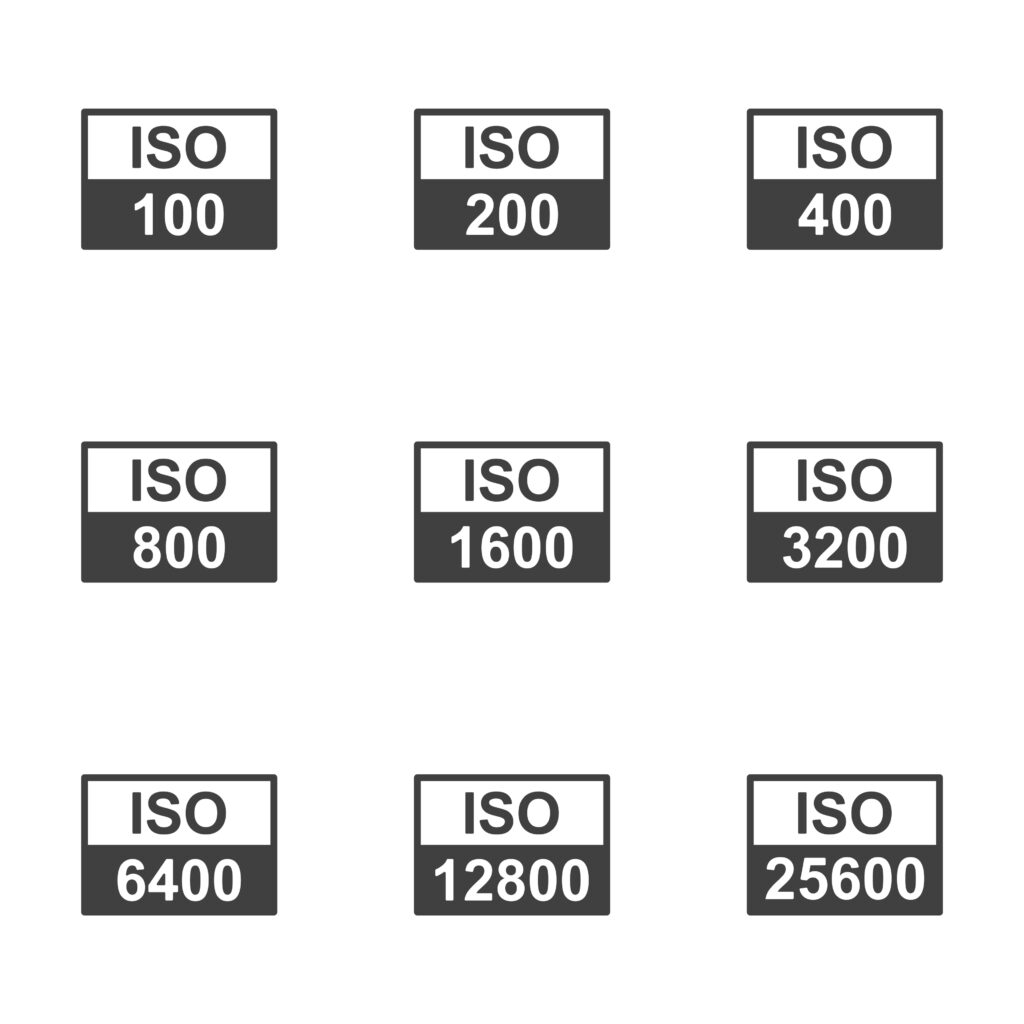
ISO – a way to brighten your photos if you can’t use a longer shutter speed or a wider aperture. It is typically measured in numbers, a lower number representing a darker image, while higher numbers mean a brighter image. However, raising your ISO comes at a cost. As the ISO rises, so does the visibility of graininess/noise in your images. Examples of ISO: 100, 200, 400, 800, 1600.
Exposure Compensation
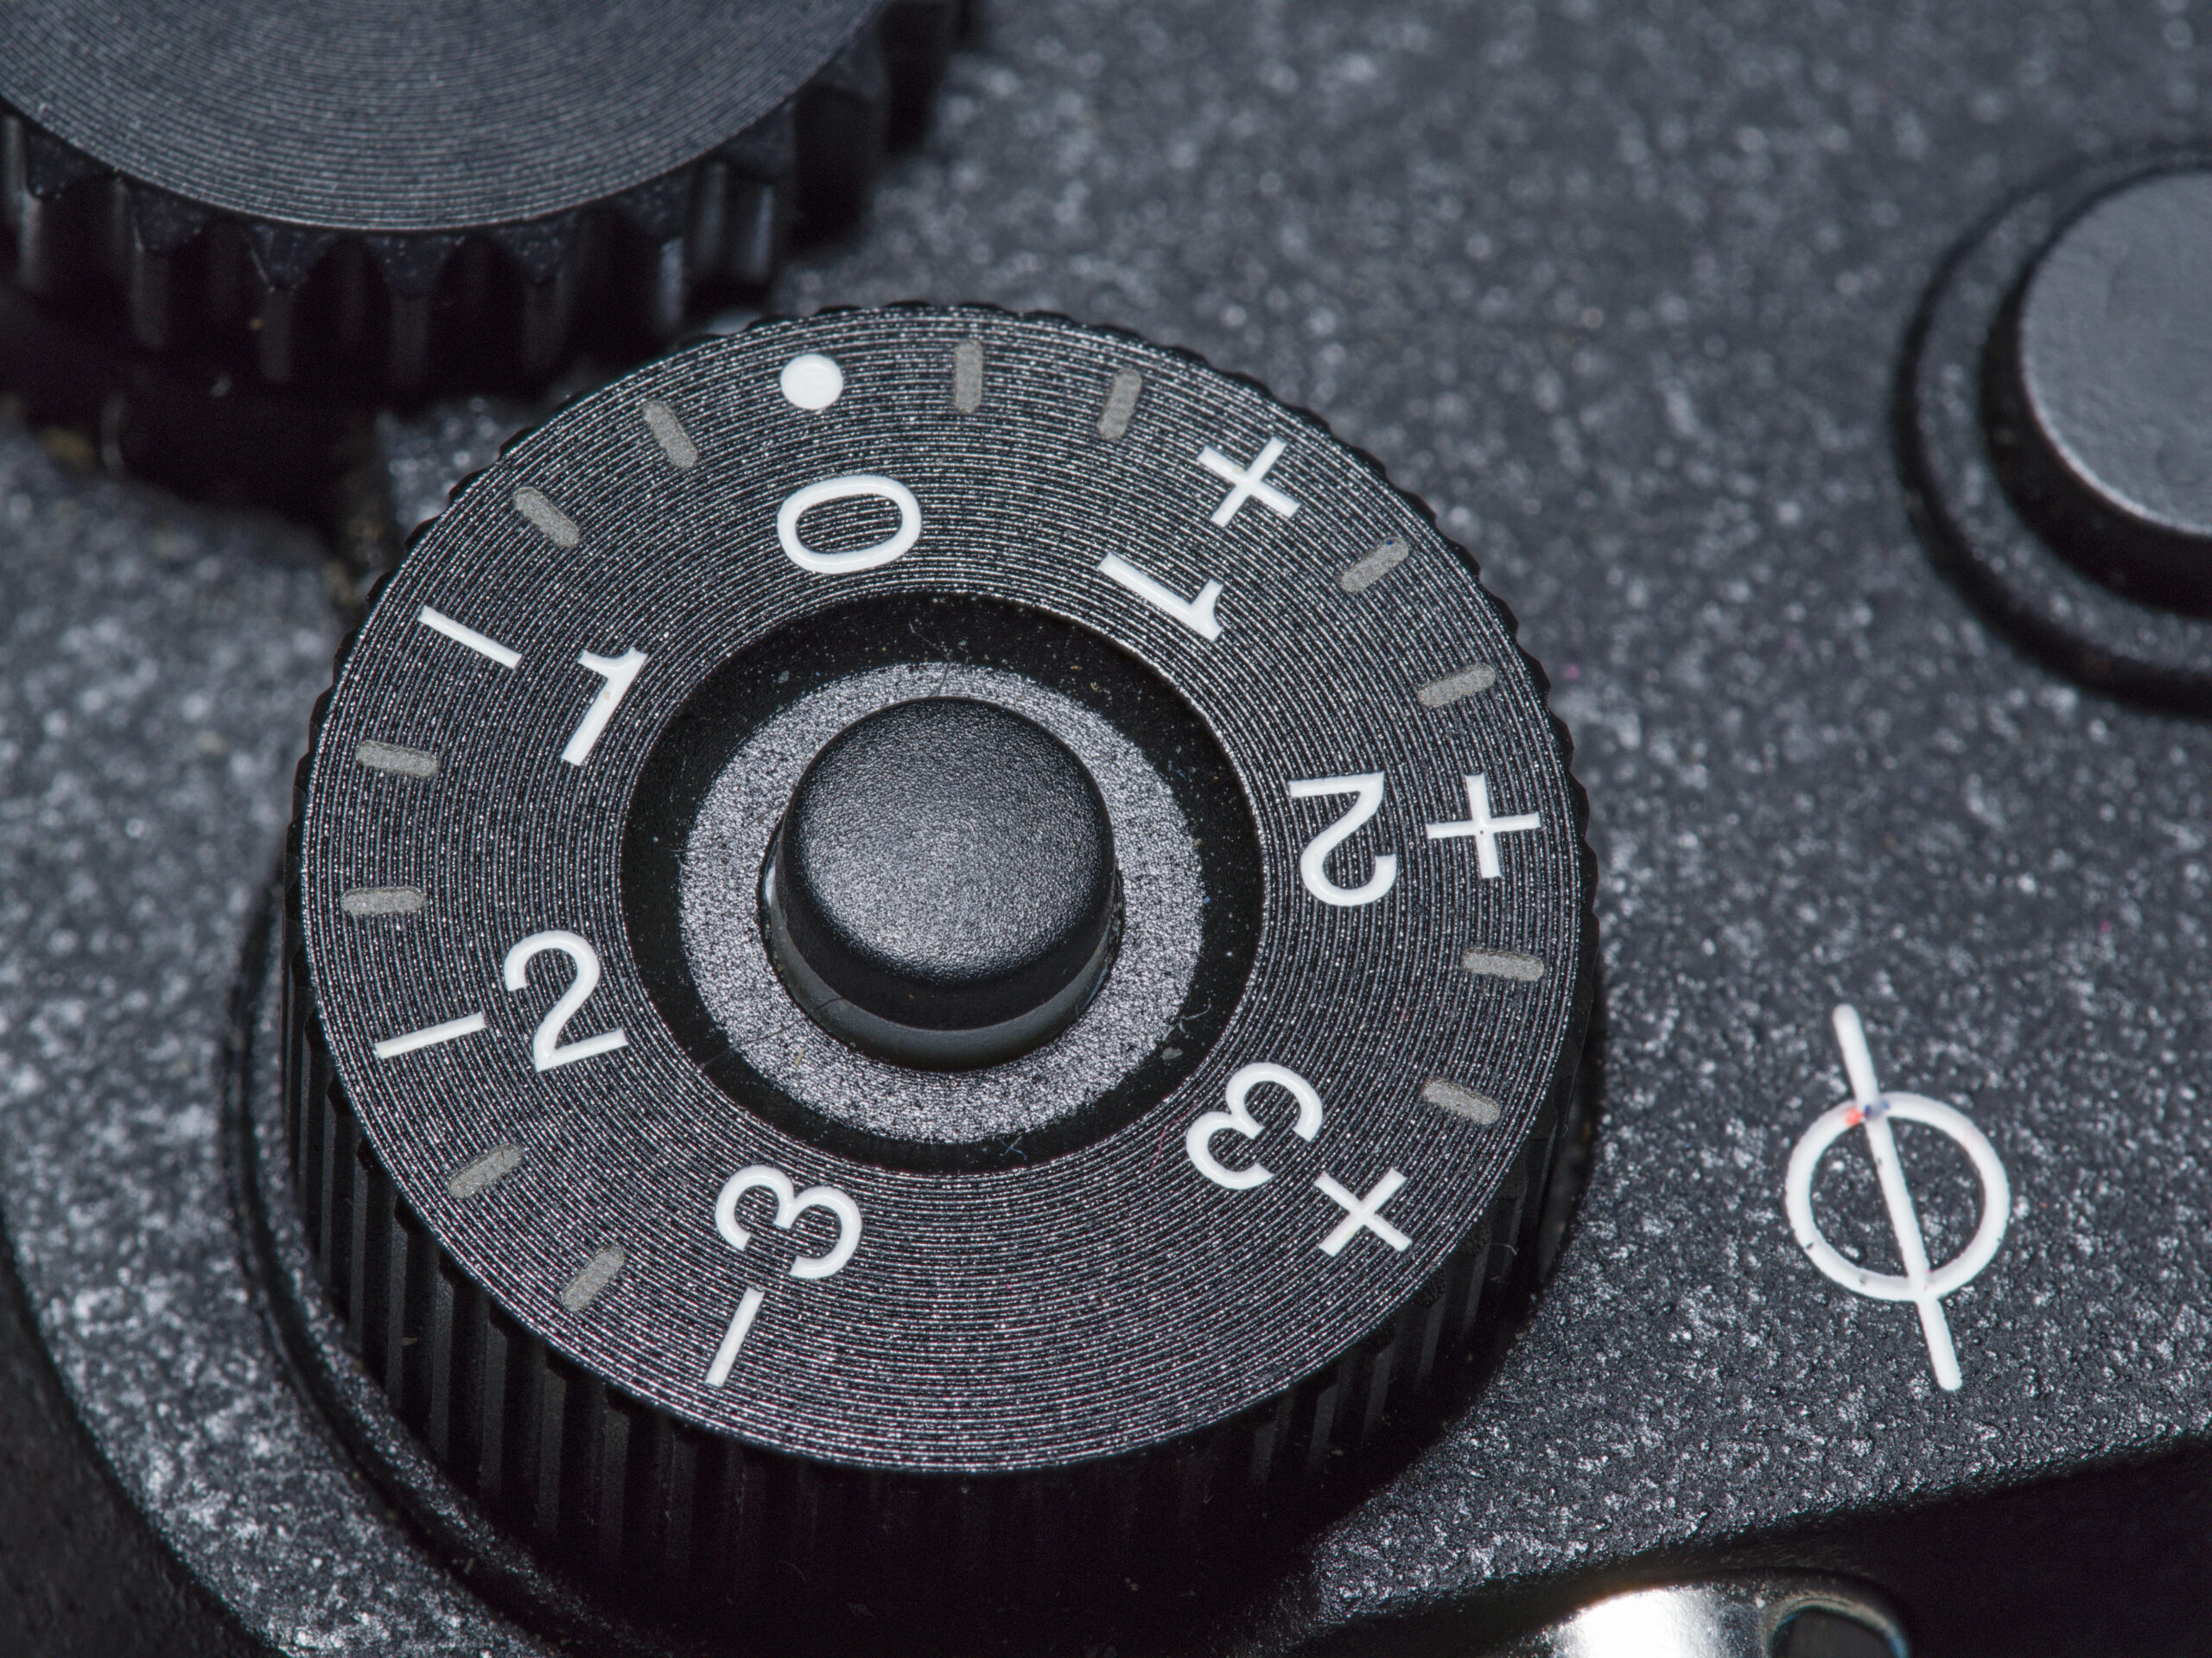
Another great feature of modern mirrorless and DSLR cameras is exposure compensation. This allows you to adjust the camera’s suggested exposure by making your photos brighter or darker, without changing your chosen aperture, shutter speed, or ISO directly. Exposure compensation is especially useful when the camera’s meter is tricked by challenging lighting — for example, very bright scenes (like snow) or very dark backgrounds. It works in most shooting modes except full manual mode (unless you’re using Auto ISO).
What are “Full Stops”
“Full stops” in photography refer to standard, whole-number increments that double or halve the amount of light hitting the camera sensor. Each full stop represents either twice as much light (when you open the aperture, slow the shutter, or increase ISO) or half as much light (when you close the aperture, speed up the shutter, or lower ISO). For example, moving from f/4 to f/2.8, 1/125 sec to 1/60 sec, or ISO 200 to ISO 400 each increases exposure by one full stop. Full stops help photographers make precise, consistent adjustments to control exposure.